Configuring a CloudBoost Share
After you deploy the CloudBoost virtual appliance, you must configure the shared data store. This article provides the necessary steps to achieve this task.
If you have not already done so, use these links to Configure and Deploy the CloudBoost virtual appliance

- Use a Web browser to log in to the CloudBoost virtual appliance at
https://<FQDN>:444, where<FQDN>is your fully qualified domain name, and then click Shares in the top menu. - Click Configure Share. The Configure Share page opens.
- In the Cloud Storage Profile field, select the cloud storage account to use for storing the share.
- To specify a container for the share data, click advanced settings, then type the name of an existing container in the Container for the Share Data field. This name is used to access the share. Share names cannot contain spaces or any of these characters: \ " / [ ] : | < > + = ; , ? NOTE: If you specify a container in this way, that container is not automatically deleted by CloudBoost when deleting the share.
- To improve data transfer performance by making use of a geographical read cache, select the Enable Cloud Delivery Cache checkbox. The separate CloudBoost planes for data and metadata allow data caches to be deployed with no impact on file system consistency. The metadata path remains realtime for all users.
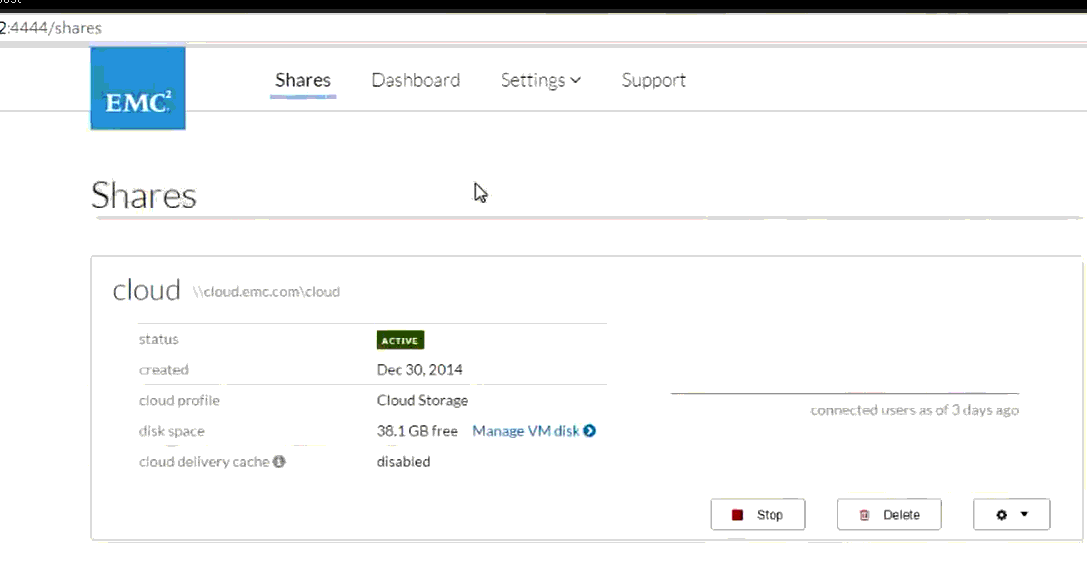
- Select a database for storing the share's metadata, and then click Configure Share. The Shares page opens, showing progress and details while the share initializes.
After you have finished configuring a CloudBoost share, Download the CloudBoost encryption key and keep them safe.
