Downloading and Managing CloudBoost log files
You can download log files to diagnose problems with a CloudBoost share, and change logging levels to either increase the amount of information collected or to improve share performance.
Log files are an important tool when investigating issues. Each share operates its own independent logging. You can change the log level for any share.
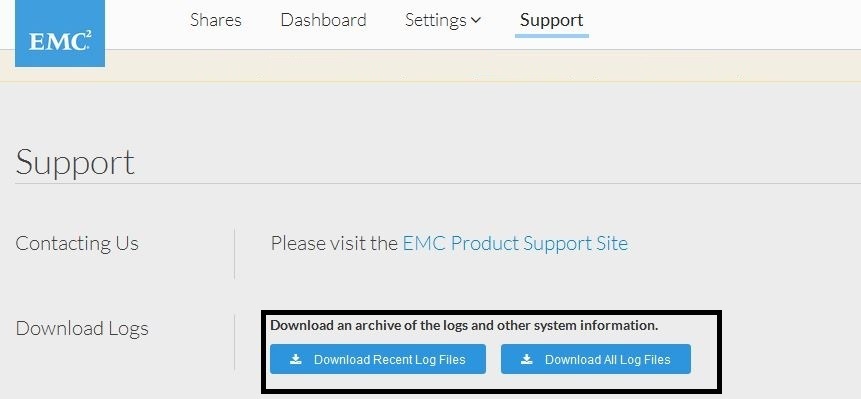
Downloading log files

- To download an archive of the logs and other system information, next to the download logs, click either
- Download Recent Log Files
- Download All Log Files
.zipfile is downloaded. The time this takes depends upon the quantity and size of the log files.
Managing log files
- Use a Web browser to log in to the CloudBoost virtual appliance at
https://<FQDN>:444, where<FQDN>is your fully qualified domain name - Click Support in the top menu. The Support page opens.
- To change the level of logging for a share, select the appropriate share next to Log Level, and then select the log level for that share
- normal (info), the default log level.
- high (debug)
- higher (trace)
- Click Change Log Level to confirm your selections, and then click OK.
NOTE:
- While increasing the logging level may assist in diagnosing a reported problem, it will decrease the performance of the share.
- When an elevated log level is no longer needed for diagnosing and troubleshooting issues with a share, you can reduce the level to normal and thereby improve performance of the share.

Be the first to comment.
Leave a response